Why We Love Hardware at Code Club Aotearoa
At Code Club Aotearoa, our tamariki are curious, creative and clever. Whether they’re designing games in Scratch, lighting up the night sky with Matariki micro:bit animations, or building robots that navigate a programmed path, they thrive when they can bring their code to life with hands-on tools like Raspberry Pi or Makey Makey. If you’re looking to supercharge your Code Club sessions with engaging hardware projects, check out our blog below for inspiration!
Why Hardware Makes a Difference
Weaving hardware like micro:bit, Makey Makey, Raspberry Pi or Robotics and Electronics turns code into something tangible. It bridges the digital and physical worlds, which not only boosts engagement but helps ākonga:
Develop problem-solving and design thinking skills
Move from guided instructions to self-directed exploration
Gain confidence as they prototype and personalise their projects
We’ve seen firsthand how even a small amount of hardware can shift the energy in a session; tamariki are more willing to make the leap from Scratch into a new world, which sustains their learning and encourages more ambitious ideas and deeper collaboration.

Code Club Approved Hardware Projects
Here are a few beginner friendly projects that are guaranteed to get tamariki hooked and ready to give their own creative builds a go!
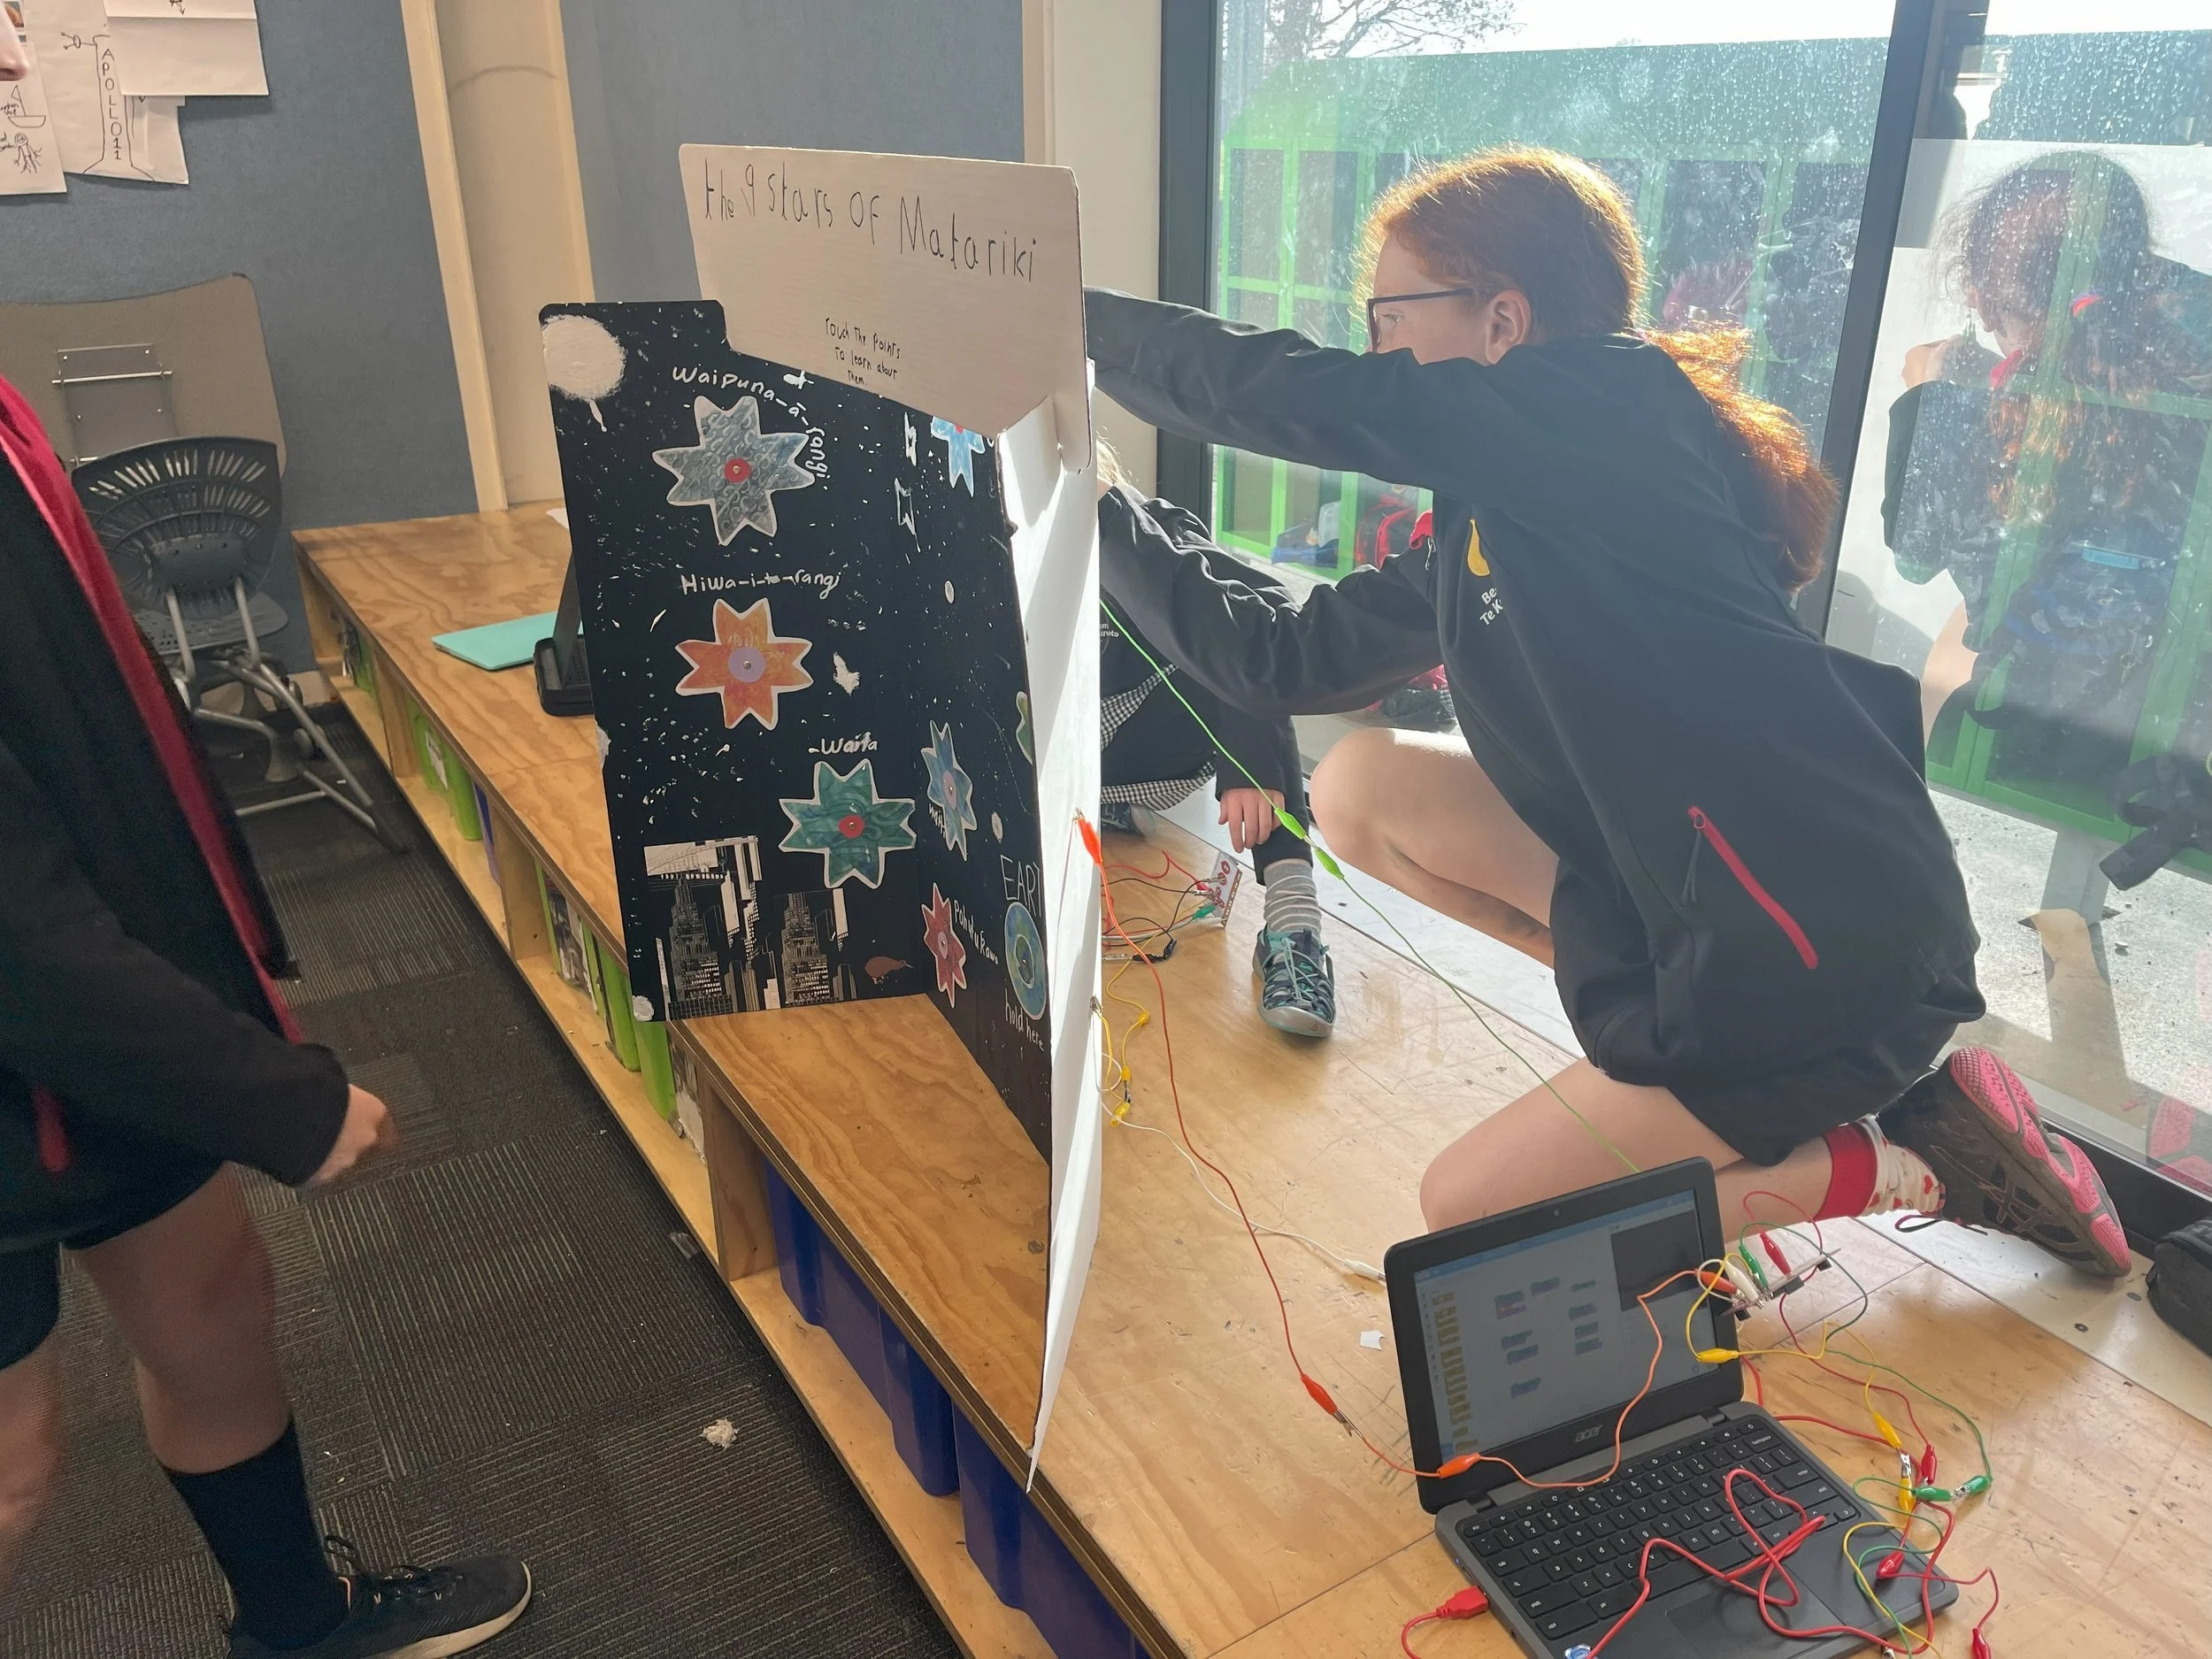
Matariki: Animation & Sound (micro:bit + MakeCode)
Celebrate te ao Māori by creating multimedia art using micro:bit’s LED screen and sound output. Perfect for learning functions, loops, and timing in a culturally rich context.
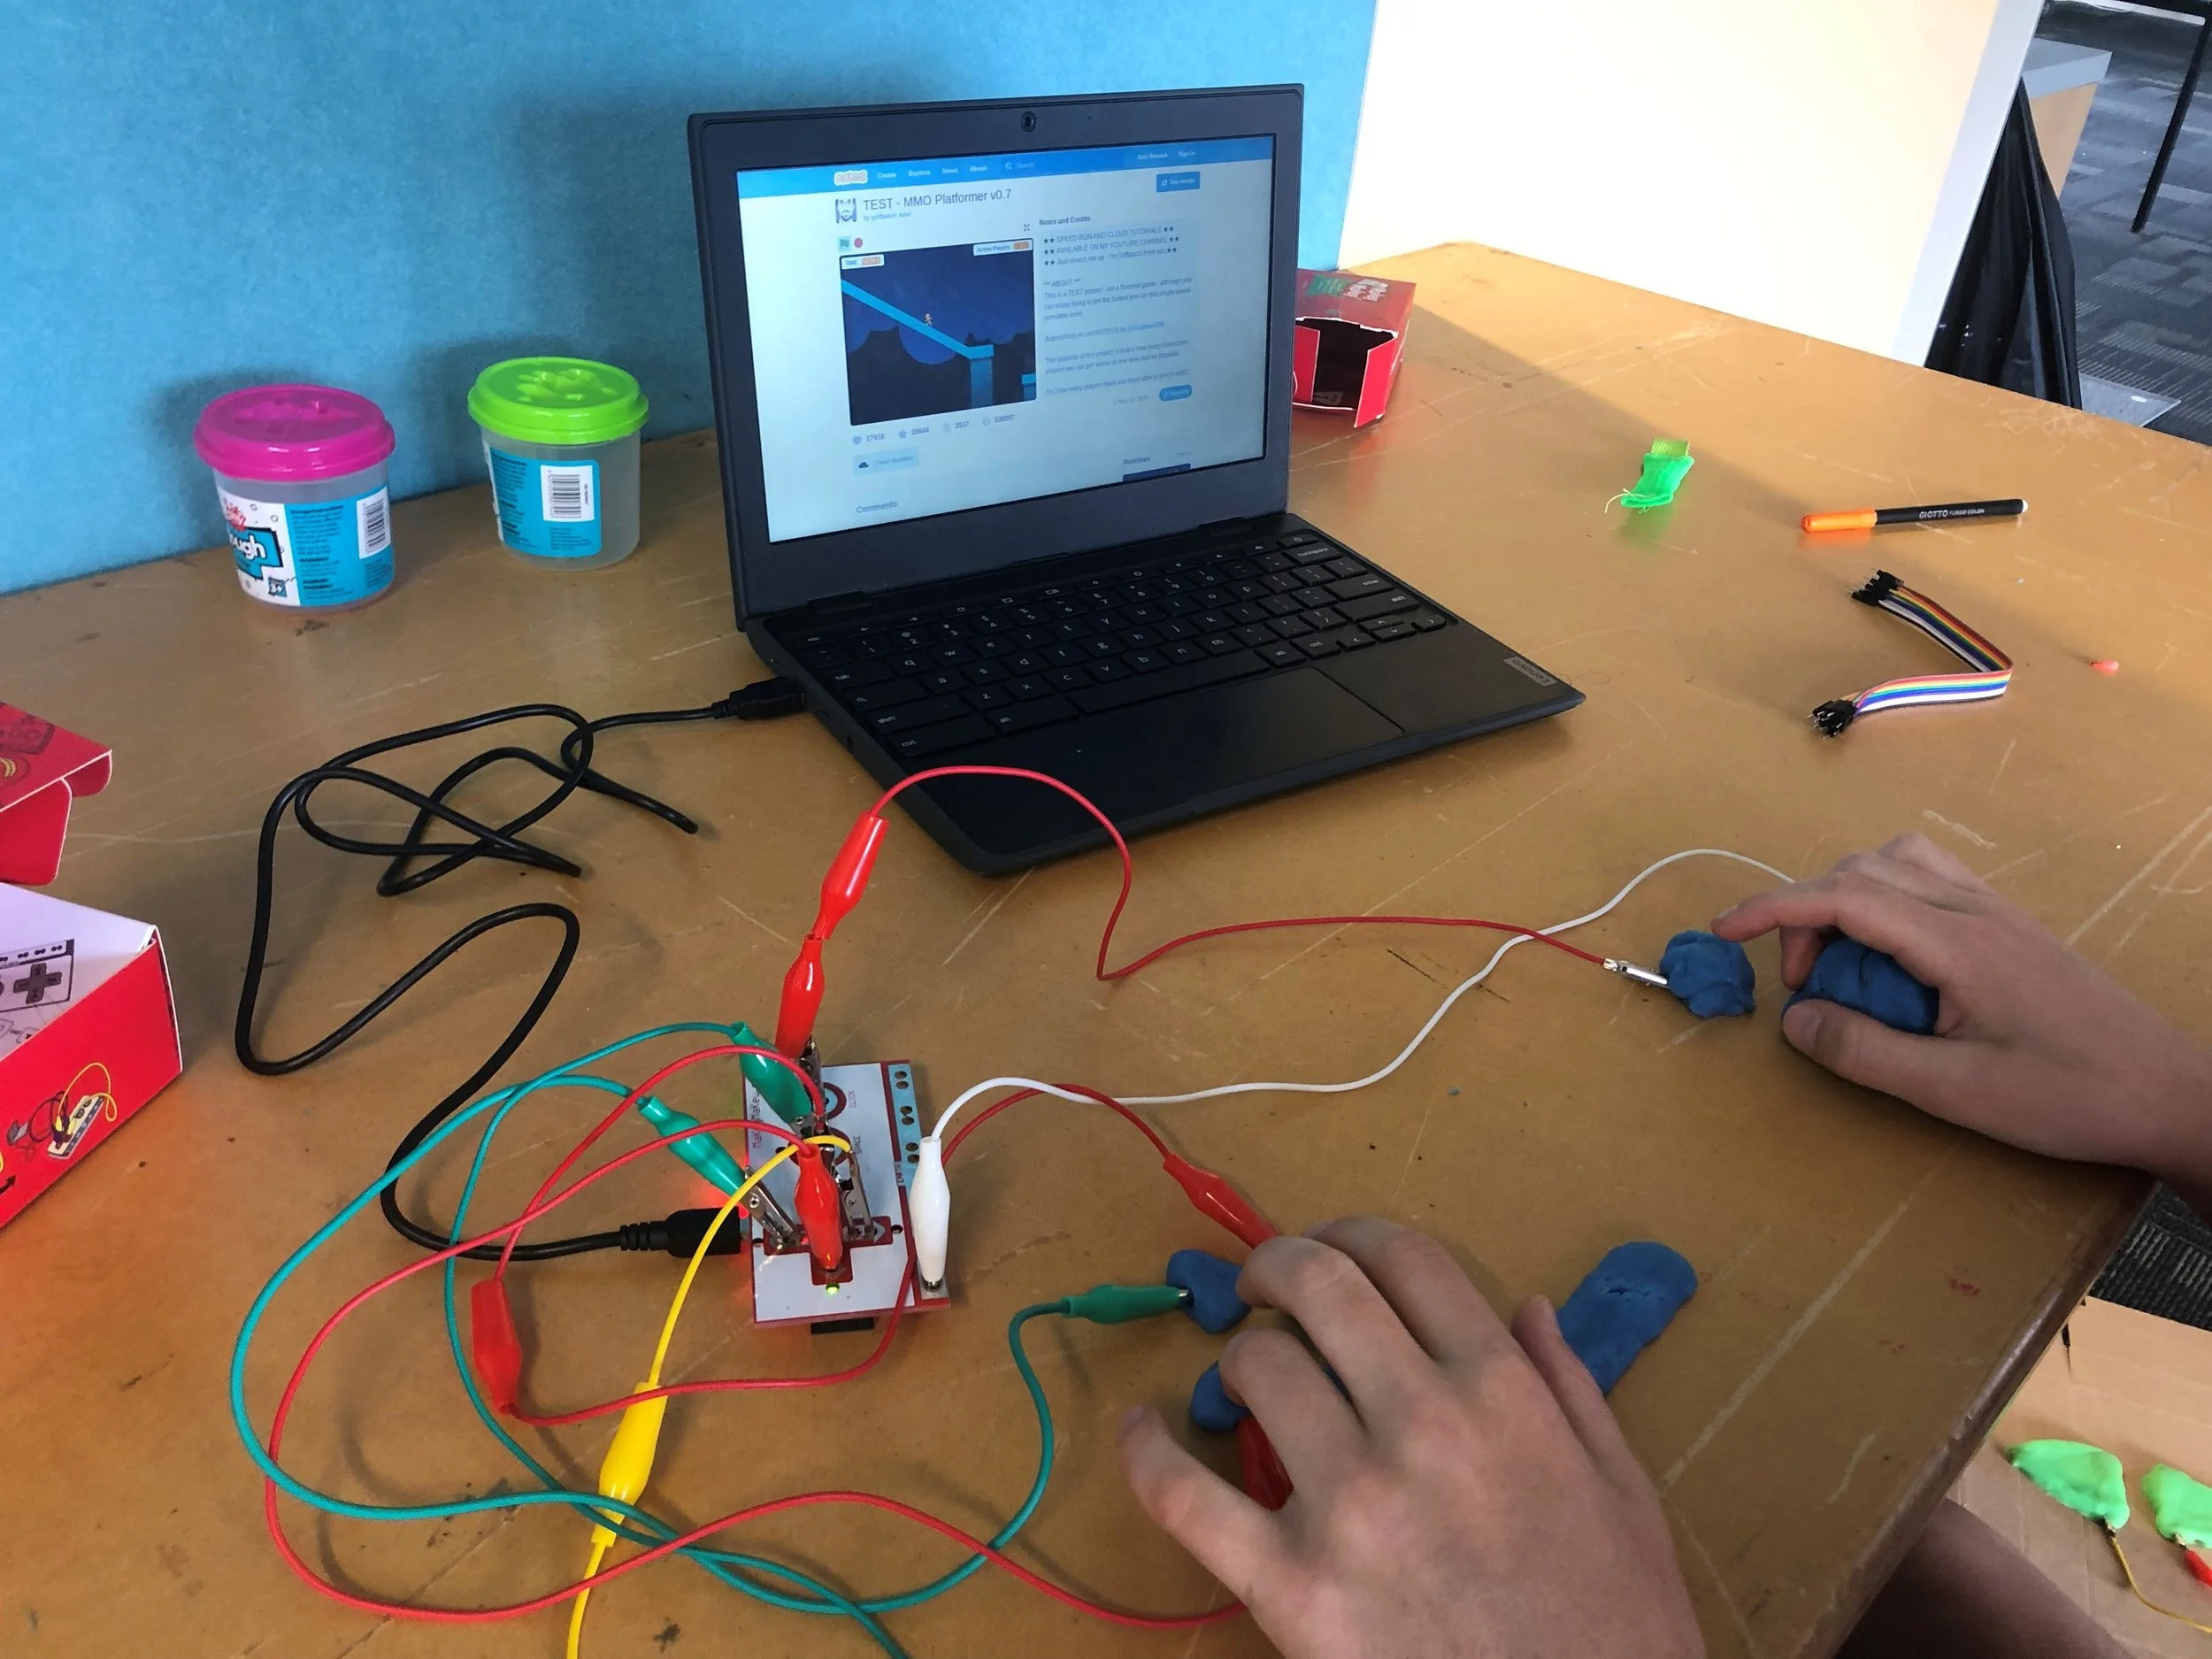
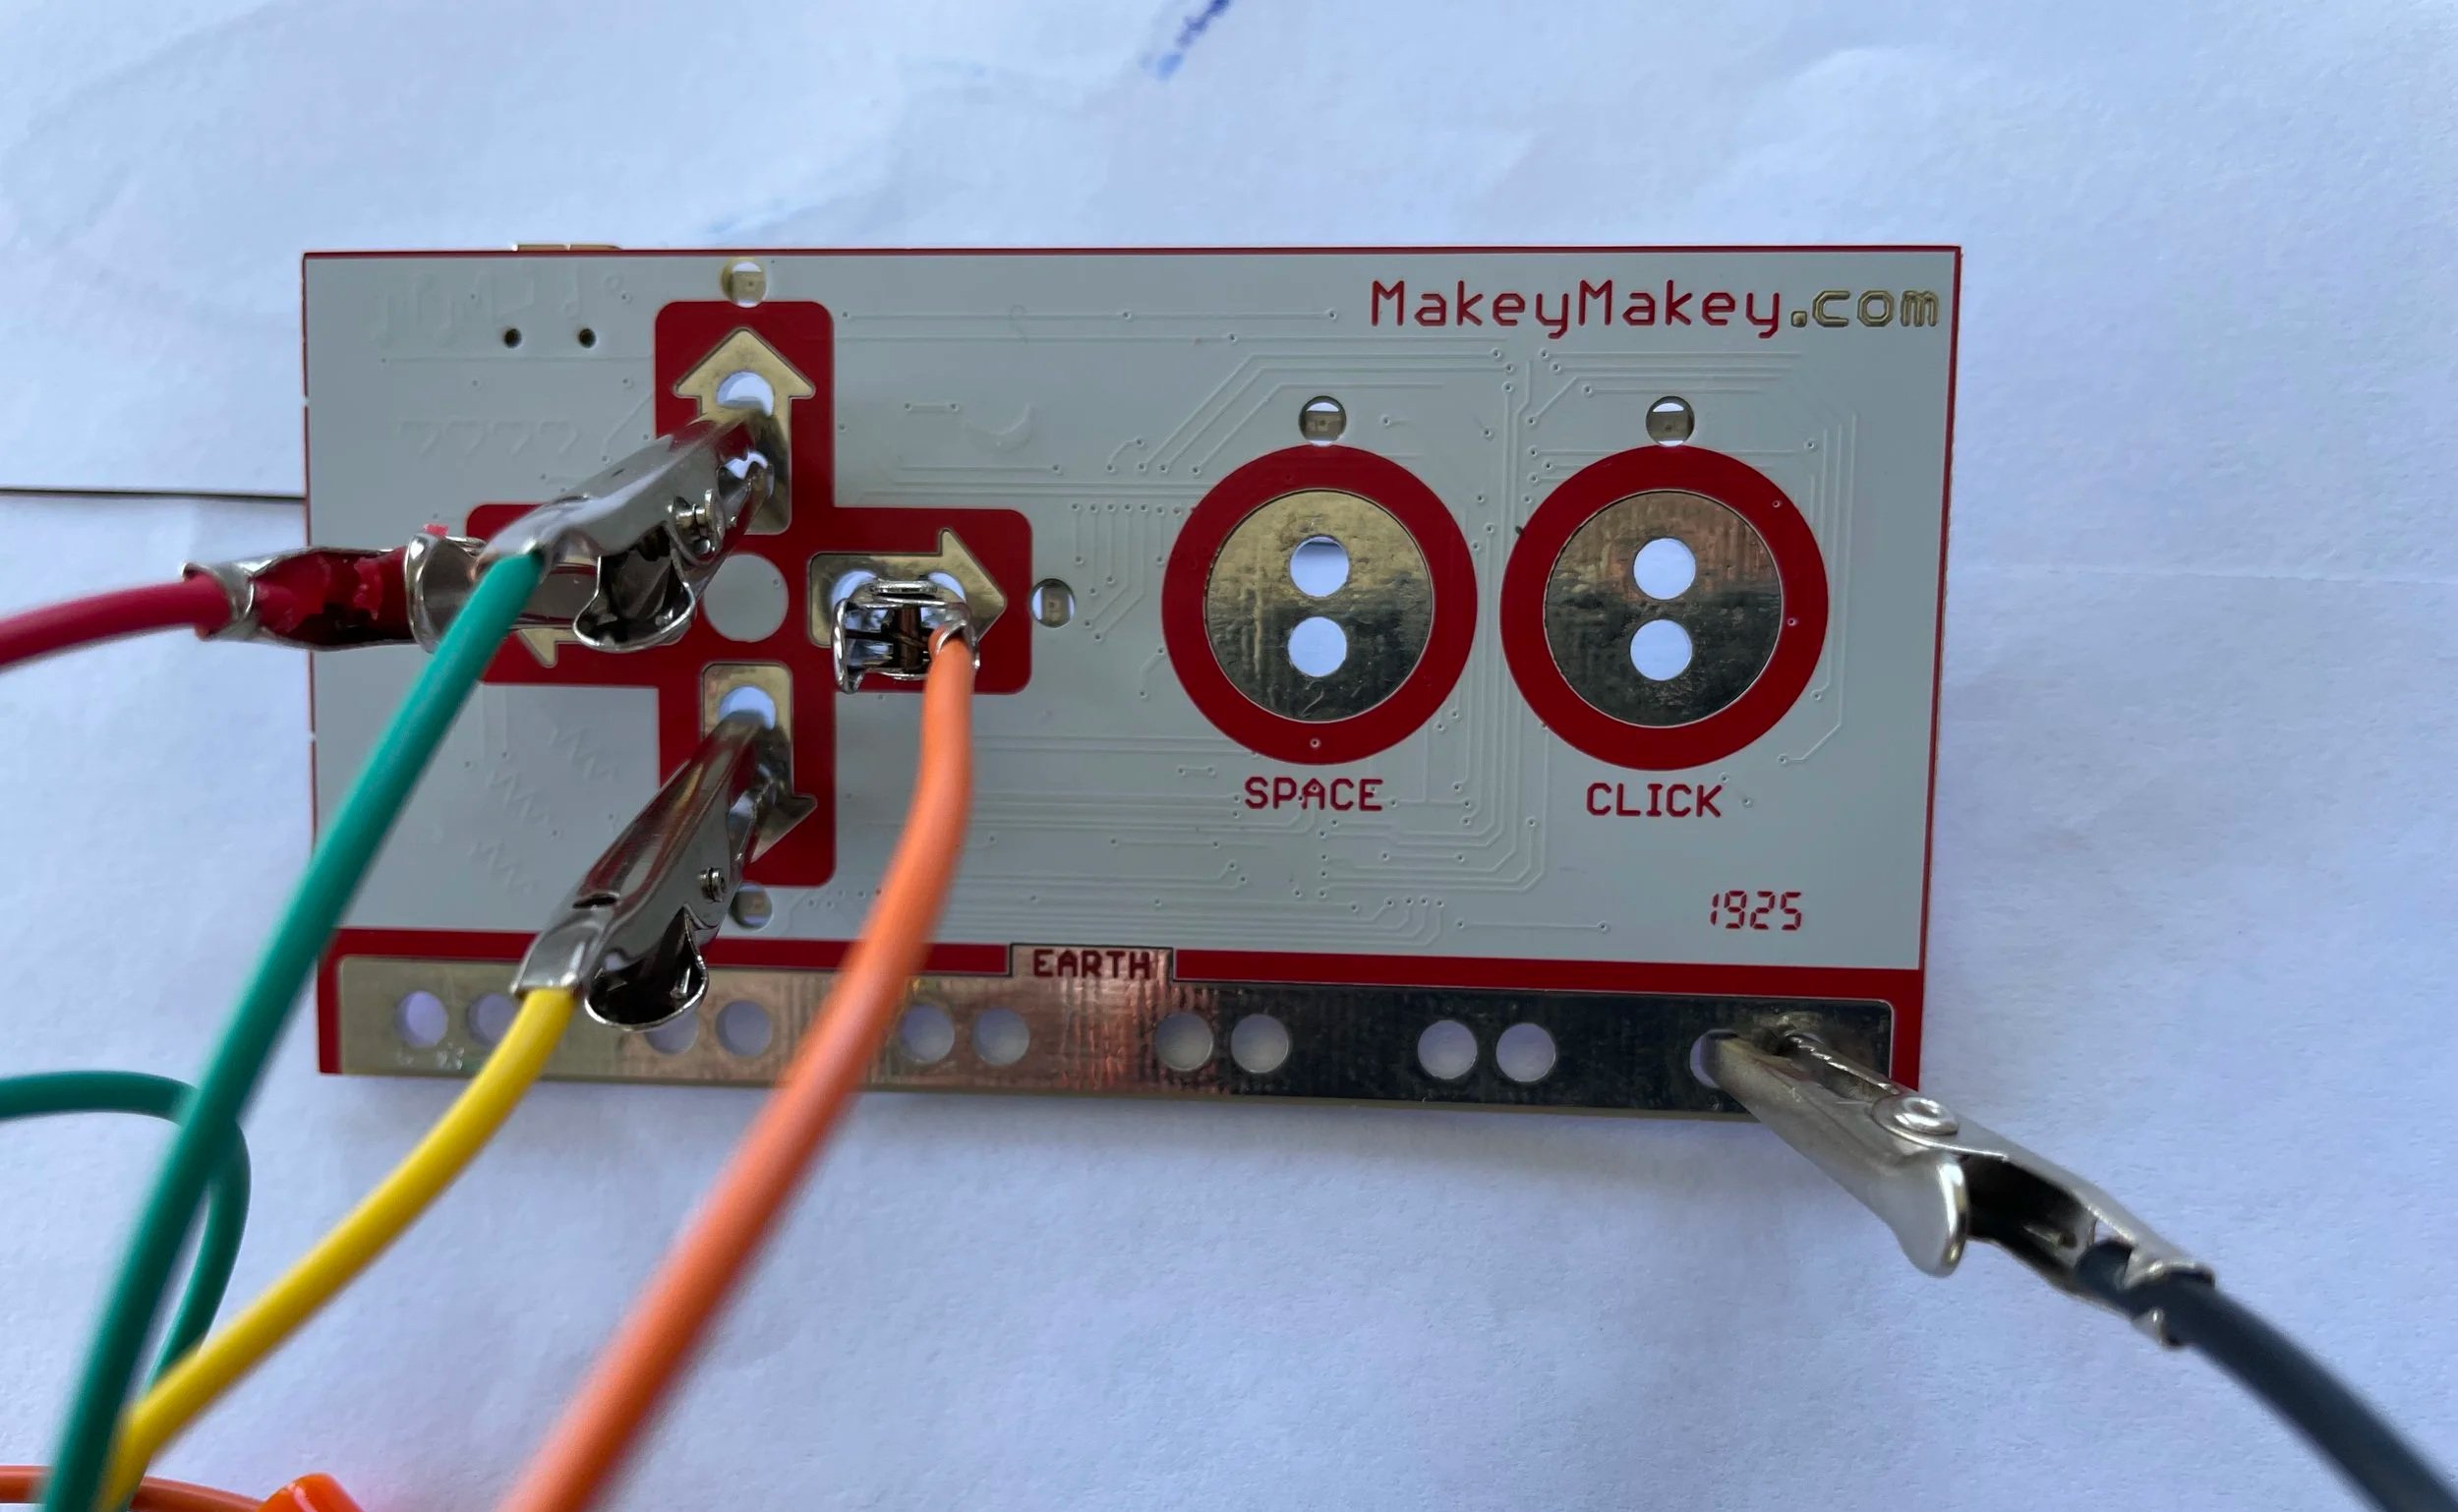
Your Own Game Controller (Makey Makey + Scratch)
Design a Scratch game, then create a custom controller using foil, fruit, or even playdough. Great for kinaesthetic learners and perfect for teaching inputs, events and creative circuitry.
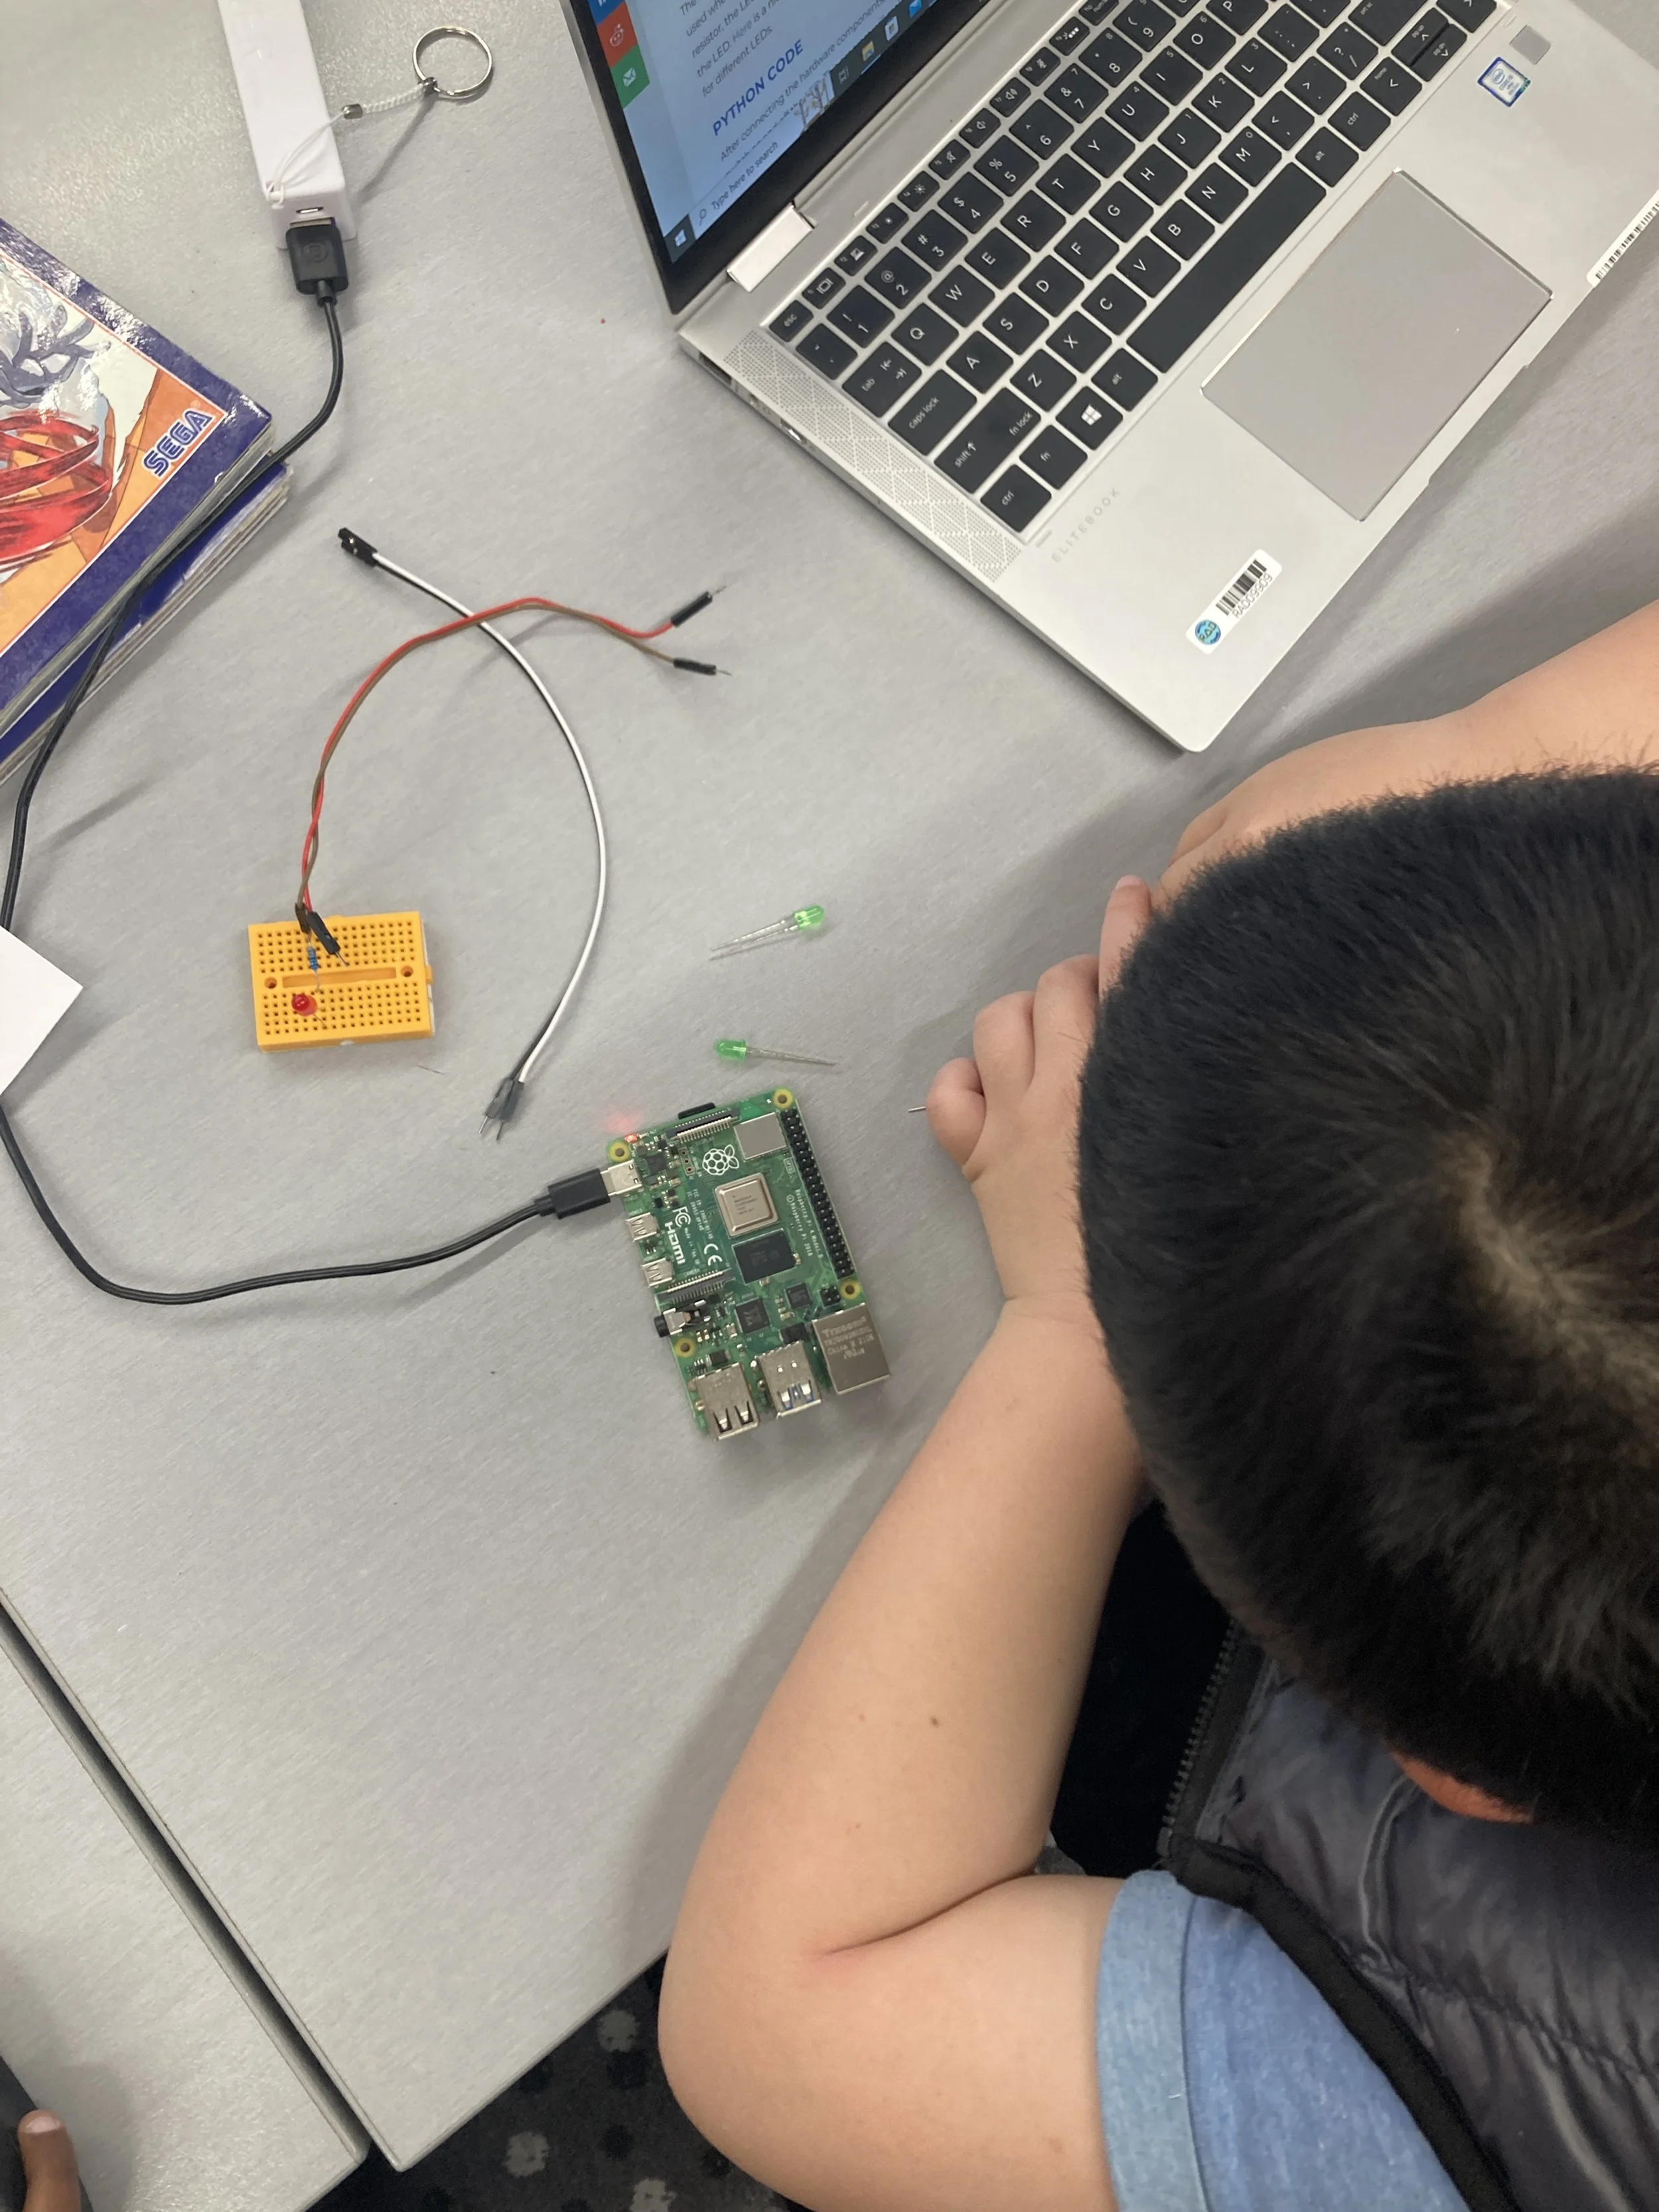
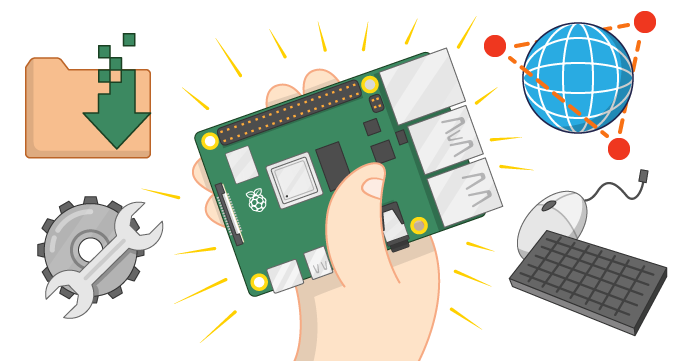
Raspberry Pi for beginners: Beginner projects for the Raspberry Pi
In this introduction to Raspberry Pi, learn how to set up and configure a Raspberry Pi. Navigate the terminal, create bash scripts and automate tasks to run on boot and on a schedule! This is a must for students new to working with Raspberry Pi’s and a great jumping off point for the Raspberry Pi learning paths.
Matariki: Animation & Sound
Your Own Game Controller
Raspberry Pi for beginners
Tips to Make it Happen in Your Club
Start simple: One micro:bit or Makey Makey kit can go a long way. Use it for demos, rotate it between pairs, or try group-based challenges.
Use the Digital Pīkau: Find hardware-ready, Aotearoa-aligned project instructions.
Use the Raspberry Pi Physical Computing dashboard: Make the most of your Raspberry Pi and micro:bit hardware with a series of projects designed to build skills with electronics.
Pair students by ability: Encourage tuakana-teina collaboration.
Celebrate wins: Use the Code Club certificates and progress maps and host end of term showcases.
What if I don’t have access to hardware?
We know it’s not always easy to get your hands on hardware, but don’t let that hold you back!
Simulate it first. Platforms like MakeCode offer online simulators for micro:bit projects so tamariki can test code even without the physical device.
Reach out. We can help! Through Digital Future Aotearoa, there are ways to borrow hardware, partner with local libraries or makerspaces, and access support via our outreach programme. Don’t hesitate to get in touch, we’re here to help.
Ask around. Local businesses, tech orgs, or even school communities may be happy to donate old equipment or sponsor a kit. Sometimes all it takes is asking!
Adding a little hardware can go a long way. It’s hands-on, it’s high impact, and most importantly, it’s heaps of fun. But at the end of the day, it’s not about having the latest tech. Code Club is about creating opportunities for tamariki to explore, experiment and gain the confidence to try new things! Head to codeclub.nz to find out more and register to volunteer or start a club.